How I Set Up My XGIMI Horizon 20 Max Without Losing Picture Quality
My step-by-step process for getting a great picture from the XGIMI Horizon 20 Max projecting straight onto a wall, no screen needed.
I've been using the Horizon 20 Max as my main home projector and get asked a lot by first-time owners (or people considering buying one) how to get the best picture without a screen. So here's my exact setup process, step by step.
Quick context: I'm projecting onto a plain white wall (slight beige tone), and there's some ambient light in my reference video/photos, so the image looks a bit more washed out there than it does in person.
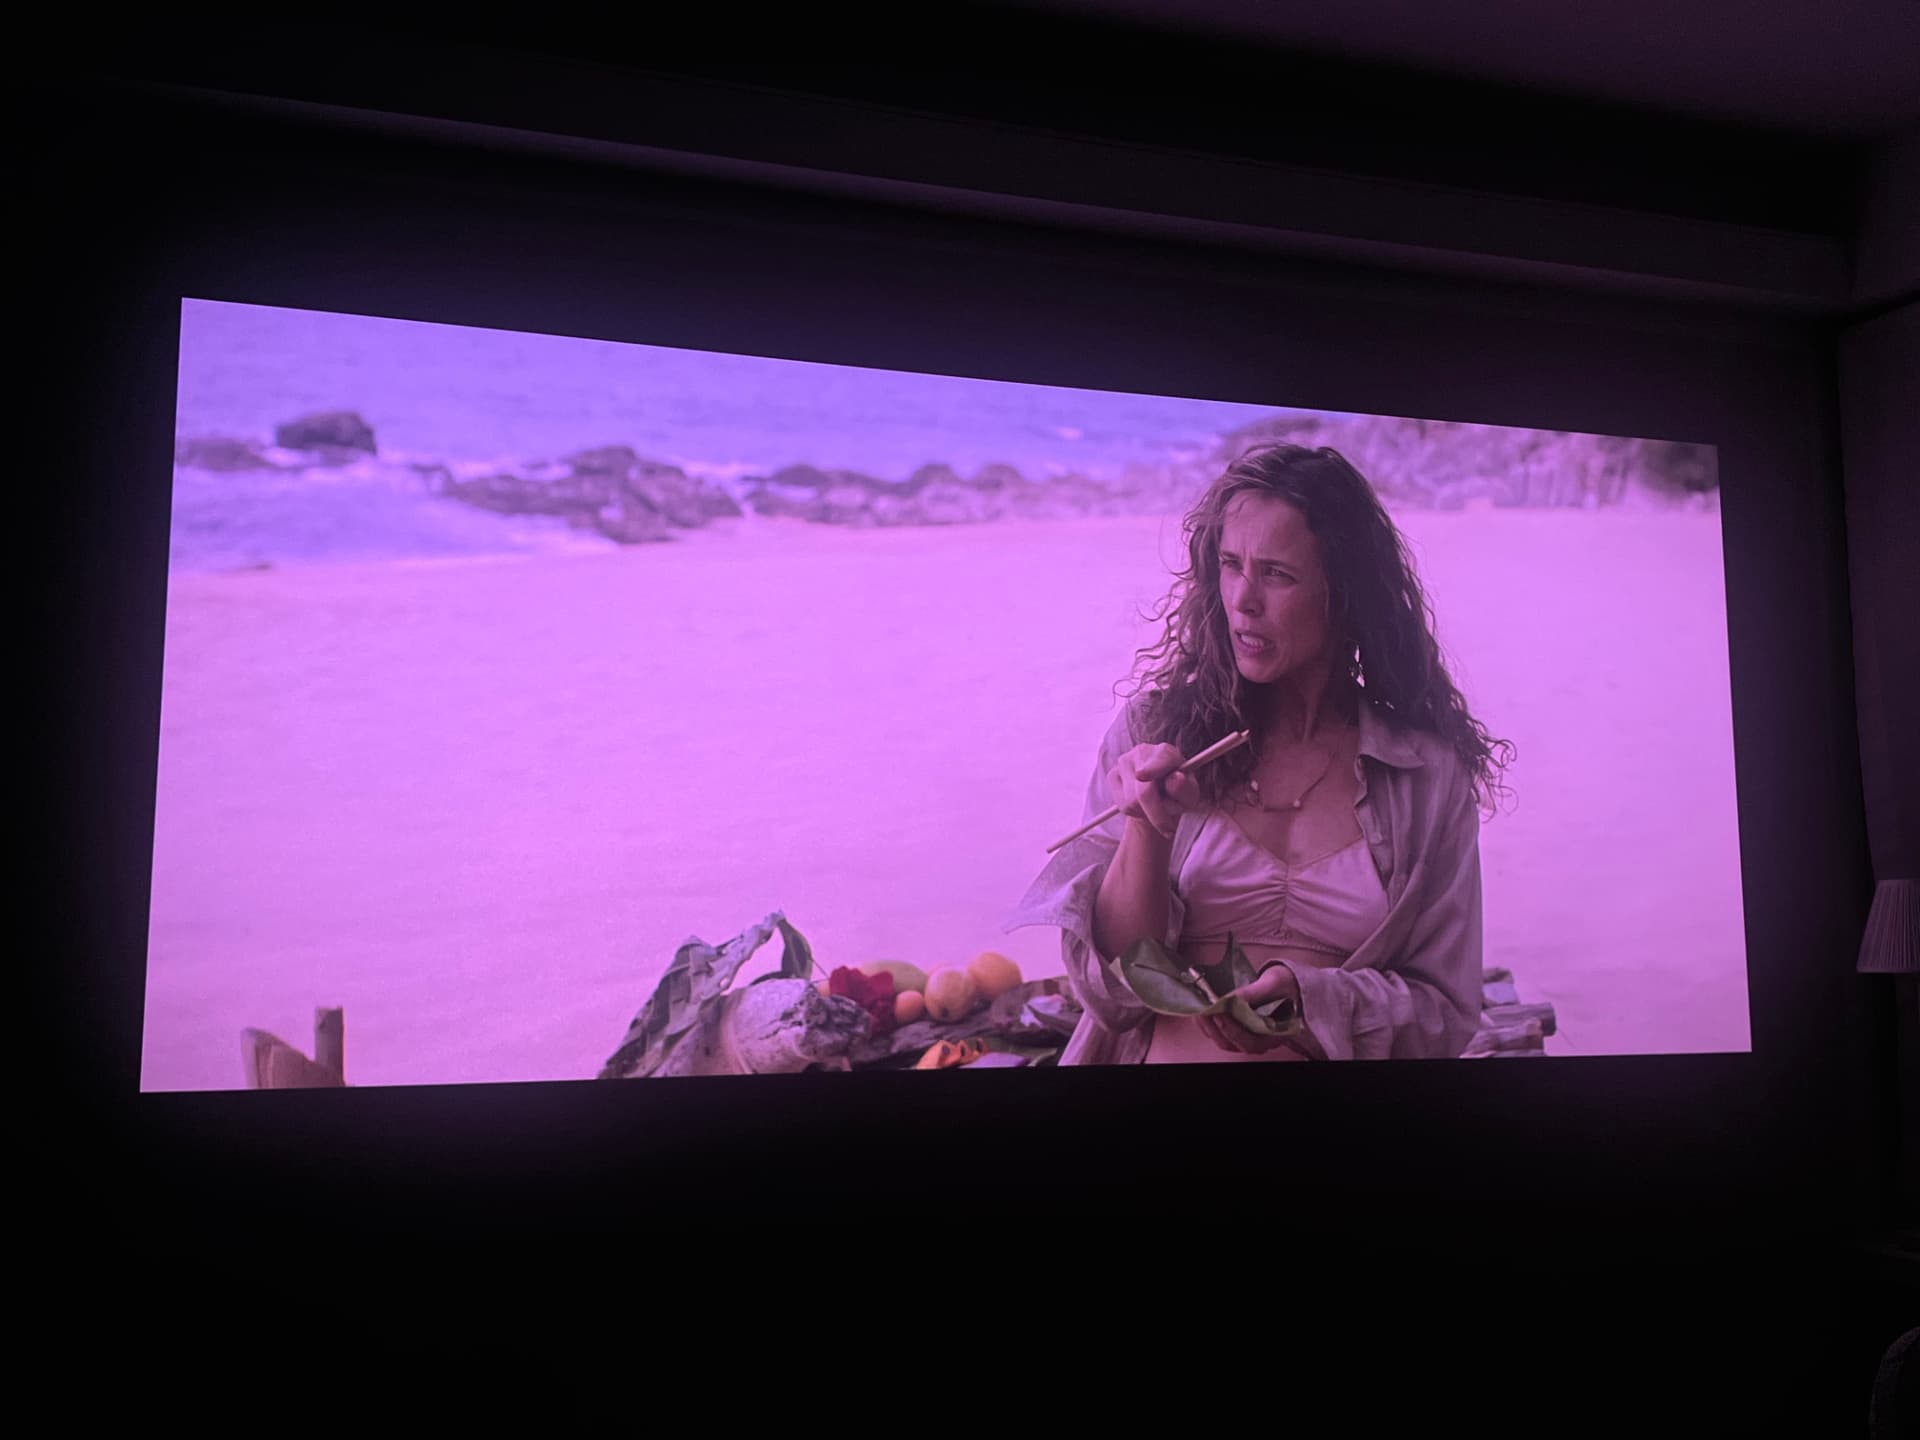
My general rule: fix as much as possible physically first, and only lean on projector adjustments for what's left.
- Physically position first. Move and tilt the projector so it's as centered and level with the wall as possible before touching any settings.
- Auto keystone — only when needed. I run this after repositioning, mainly to re-maximize screen size. Otherwise I avoid keystone entirely — the less you rely on it, the better your picture quality holds up.
- Optical zoom — only if needed. My projector sits about 3.7m from the wall, so I do need some zoom to get the size right.
- Lens shift — only if necessary. This is for when the projector can't sit dead-center and ends up at a slight angle. It lets you shift the image without losing quality — the one trade-off is you lose "eye protection" mode while using it. I don't need it in my setup, so I skip it.
- Final physical adjustment. One last small tilt or reposition to get everything perfectly aligned with the wall.
That's the whole process — genuinely more straightforward than people expect from a "screenless" setup.
reddit.com/r/xgimi
View the original discussion on Reddit